The Domestic LadyBuddha has already cooked a few new recipes, ala The Grit vegetarian cookbook and the Better Home and Gardens famous cookbook. Those happened a few weeks ago and I didn’t have the tools or foresight to document my process. But now, thanks to HoneySnaps, I have an iPhone. That means finally, a working camera! Yes!
And with that, feast your eyes on this:
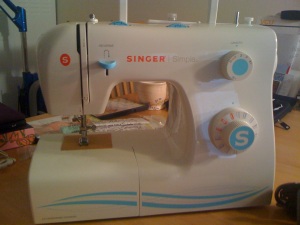
 Meet my new Singer 2263. I can’t say I did a great deal of research to pick this machine. It was a happy marriage of convenience, price, and brand loyalty. I seem to remember my mother sewing with Singer, and I’m pretty fierce about sticking with childhood brands (marketing gurus, take heart).
This little number (handpicked by Martha Stewart and labeled for beginners) came to her new home last night. I have two projects in mind to start. They are both courtesy of my cousin Avis, who maintains the familial tradition of sewing.
She heard of my interest to sew and sent me Amy Butler’s Sew-It Kit to encourage me. After many days of mulling, I picked out the sleeping mask and the apron as my first two projects.
I’m not convinced of their ease. I’m a *beginner’s beginner* and the directions say this kit is for beginner or intermediate sewers. o_O

Anyhoo…
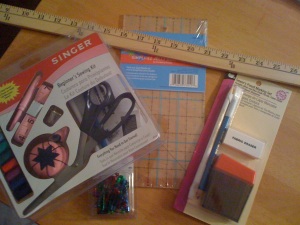
I spent quite a bit of time finding all the materials any beginner sewer needs: hand needles, threaders, thread, straight pins, pin cushion, scissors…
But more than halfway through my shopping list, I found a handy beginner’s kit. I added a pack of safety pins for good measure, as well as a yardstick and some fabric pencils. I also needed a quilter’s ruler (specifically for the sleeping mask project). Quilter’s supplies are expensive (!!!), but thankfully I found one on clearance for only $5.
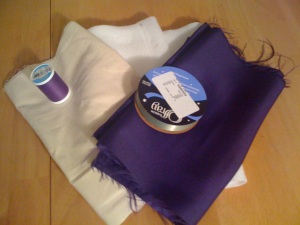
I’ll show you the fabrics I got now, although you’re definitely going to see them again when I blog about actually making something. Here’s what I’ll need for the sleeping mask.
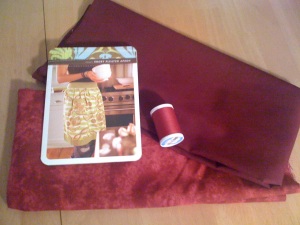
And here’s the apron. I think the colors I chose for both are appropriately safe yet cute. It was actually pretty difficult to find stuff that grabbed me. But I was also a little overwhelmed trying to find the right materials (cotton, polyester, satin) in addition to the colors and styles. I decided to keep it simple as I get used to how fabrics even behave! I’ll be more adventurous next time, although, shopping in a store full of “Calico” and “Country Favorites” may not be the move either. Just sayin. But I was showing you what I got for my apron:
Totals
My Singer was $89 plus tax. The materials for both projects came to $16 (including thread since I had none, and an extra spool of ribbon since I was unsure about colors). My misc beginner’s materials (yardstick, the quilter’s ruler, safety pins, chalk pencils, and the sewing kit), came to another $43 bucks.
Grand total with taxes = $153.77. Your start up may be more or less, but there you go.
I’m excited and a little nervous about my first project. Because the sleeping mask requires quilting stitches, I’m thinking I may start with the apron. I should’ve bought a scrap of material to just play with. Surely there’s something in the closet I can use.
Until next time…


Yeah for getting started! Easy does it at first then you start getting creative and venture into adding your own stamp to projects. Grandma always sewed with Singer as well so ‘you done good’, Dr. Cuzzo!
But what we (and by we I mean me and Sheeky) want to know is will you be making custom bedazzled tees by our 20th…for $25 s&h? *_*
naw, i’ll sew the tees. i’ll leave the bedazzling up to you and your ______’s addiction.
Follow through! I love it! Good sewing, Dr. C!
lol. thanks samuel!